Software:
Here's a list of the software you will need.
Google Earth- You can just use the satellite on Google's website but it doesn't show coordinates, which is important if you want to be exact.
Microdem
Important links:
Geo Community GIS Data
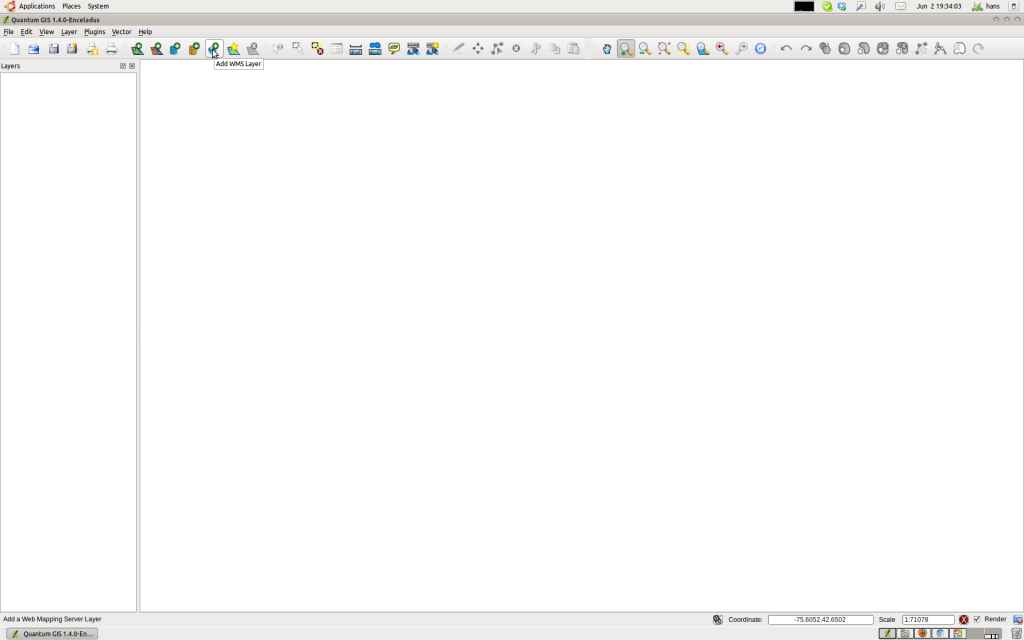
Getting the Data:
- First you will need to go into Google Earth and find where you want to take the terrain from. Important things to remember are the coordinates and the nearest county (if it's in the U.S.)
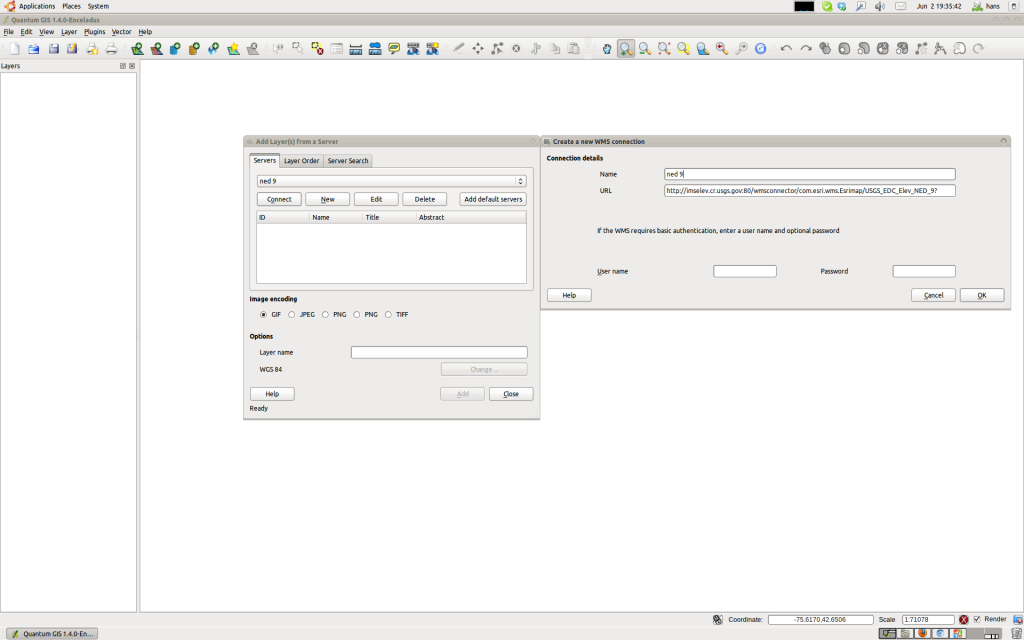
- Next go to the Geo Community link and click "Download GIS Data" (Note: You have to sign up to download the data. Don't worry, it's free, but there is also a premium membership if you are interested).
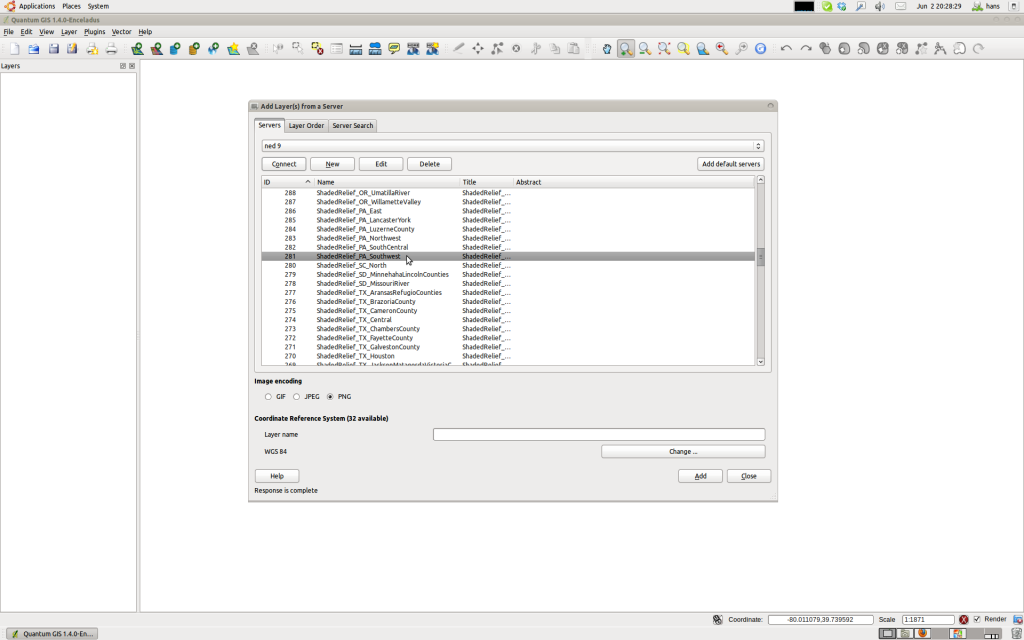
If what you want is in the U.S just click the state, then on the next page click county wide, find the county, then on the page after that click "Digital Elevation Models (DEM) - 24K". - If it's from any other country click the letter the country starts with, find the country in the list, then click nationwide data. I warn you in advance, not every place seems to have the data you need (you're looking for the "Digital Elevation Models (DEM) - 24K").
- On the list that comes up after that, find the/closest place you are looking for. Once you find it, to download the data look on the right side where it says Download and Add to Cart. Click the green arrow pointing down. That will bring you to the download page. If there is more than one option, try downloading both and see the difference between them.
- Extract it's contents somewhere you'll remember.
- Now that you have the data, you have to get the terrain out of it.
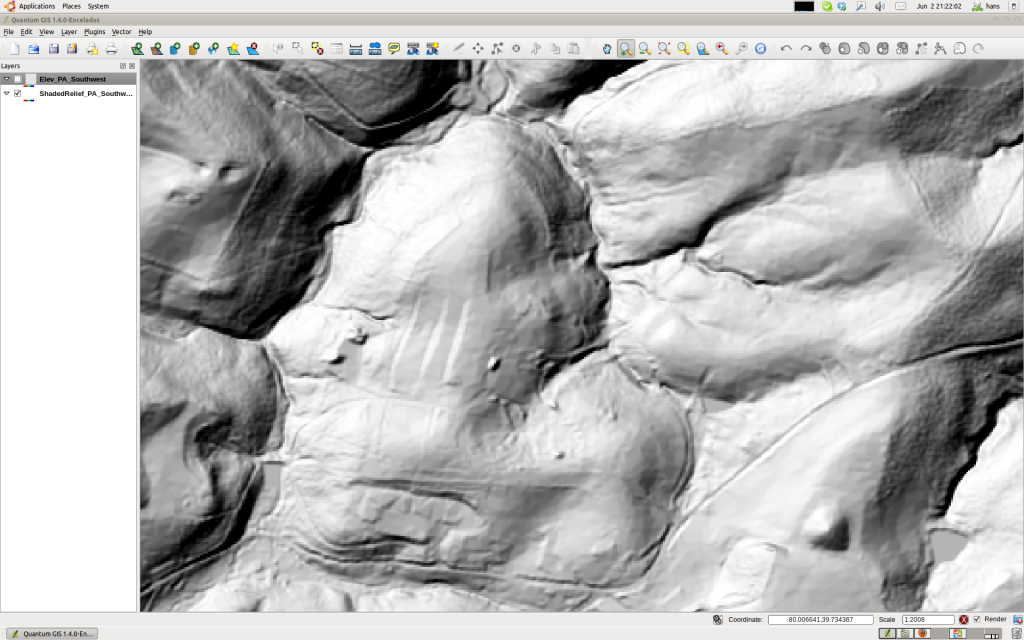
- Open up Microdem. Go to File>Open>Open DEM. Go to where you saved the files you downloaded and select one of them. If there are multiple try opening a few of them to see the difference. So far all of the ones I've tried look the same as the rest in that set. You can also try File>Open>Open and merge DEMS.
- So now you'll see a grey image. This is where the coordinates come in. Try to find the coordinates you want, make sure they are actually even in that image. If they are not try another file that came with the set, if you still can't find it you'll have to go back to the Geo Community site and try to download data from a different location.
- Depending on the size of the area, and what you want, you can use the subset and zoom tool (the one that looks like a rectangular marquee with a white pen). To only get the area you want, It's the equivalent of the crop tool.
- Now I normally zoom in a bunch (factor of 5-10 depending on what you want the size of your disp map to be). I just do it so it's big enough for the disp map.
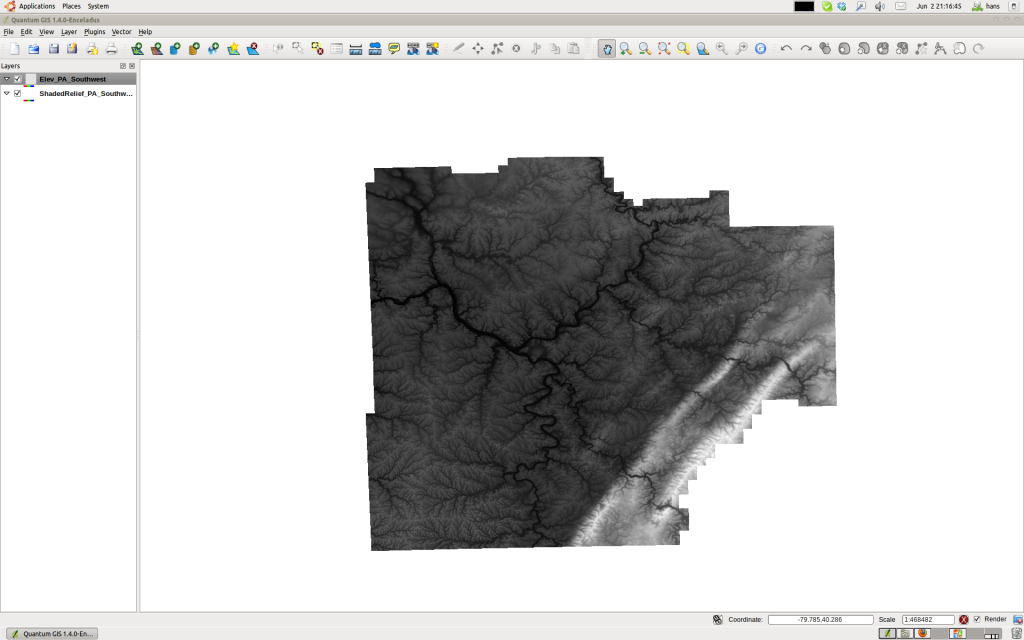
- Go to Modify>Display Parameter>Elevation. In the box that comes up click gray scale, then Ok. Now you have something that looks familiar.
- Now go to Modify>Map Area>1:1 view. This will give you the height range. Using that with the length ruler, you can get the terrain close to it's actual size in game.
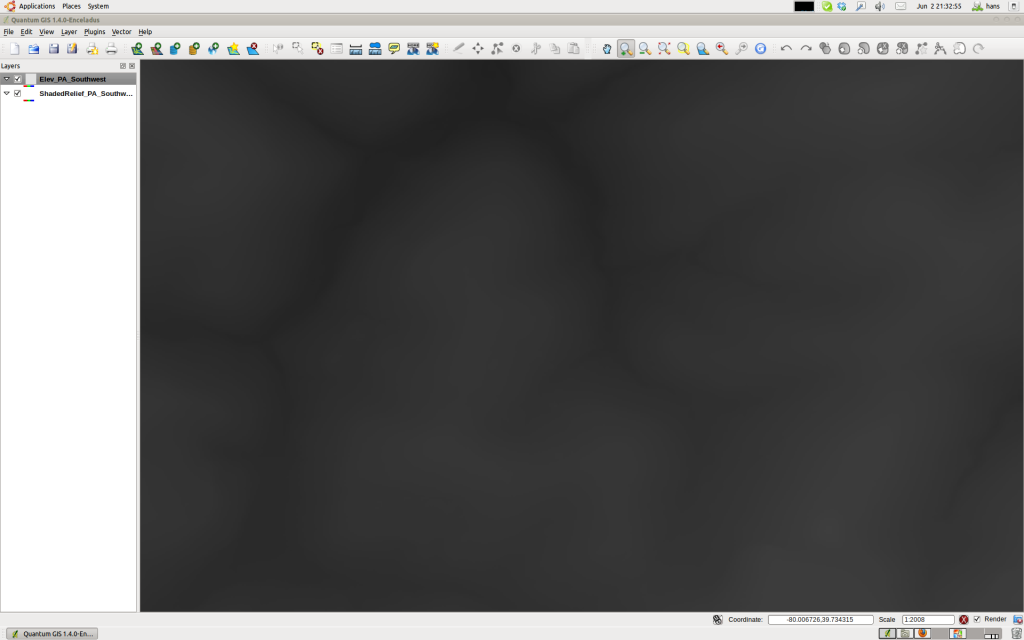
- Once you have it in gray scale and the area you want, go to File>Save Map as Image>As GEOTIFF, screen scale (gray scale). Choose the name and where you want to save it and click Save.
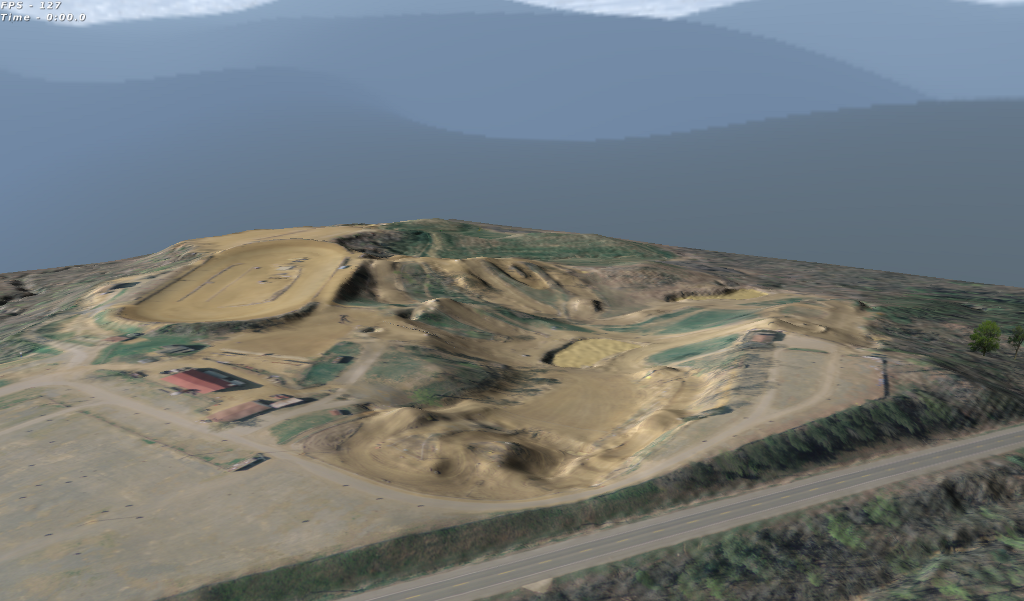
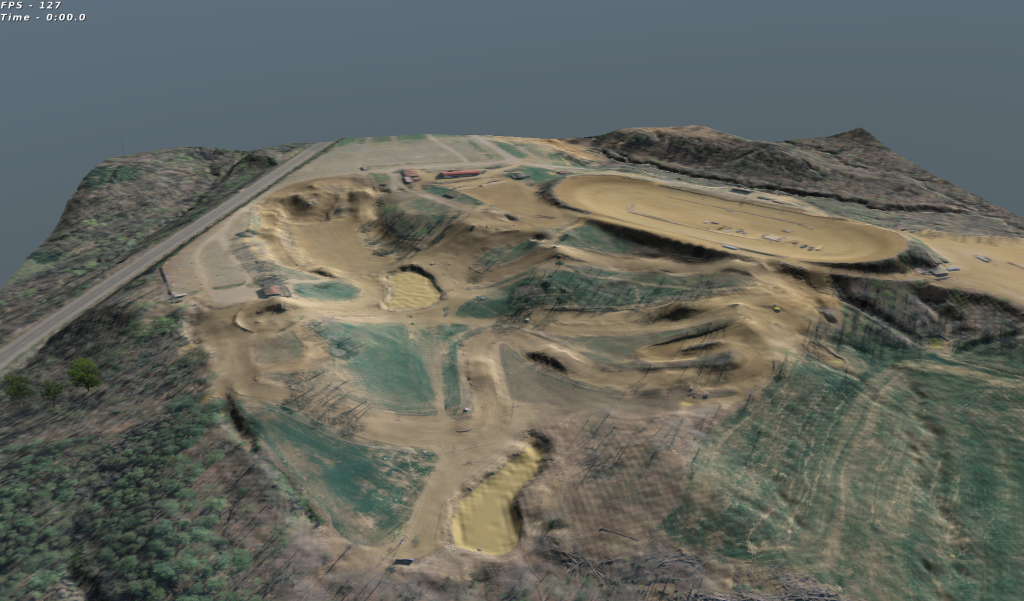
- Now you have the terrain! But, you have those overlays on it. I normally open the file in an image editing program, crop it square, resize it to whatever you're using, then save that for my terrain.png (also as a psd). That way I still have the original to use for the scaling information.
Thanks to haggqvist for posting info on the process. Also thanks to cpt_Slow for being the first to try this.